Changing a car wheel might seem intimidating, especially if you’ve never done it before. However, with the right tools, knowledge, and precautions, it’s a task anyone can handle safely. This guide will take you through every step, from preparation to finishing touches, ensuring you can confidently change your wheel by yourself.
Why Knowing How to Change Your Car Wheel Matters
Imagine being stranded on a quiet highway with a flat tire. Waiting for roadside assistance could take hours, or even longer in remote areas. Knowing how to change a wheel yourself:
- Saves time and money.
- Gives you confidence in emergency situations.
- Prevents damage to your car from improper handling.
Changing a wheel isn’t just about loosening bolts; it’s about understanding safety, using tools correctly, and ensuring your car performs optimally afterward.
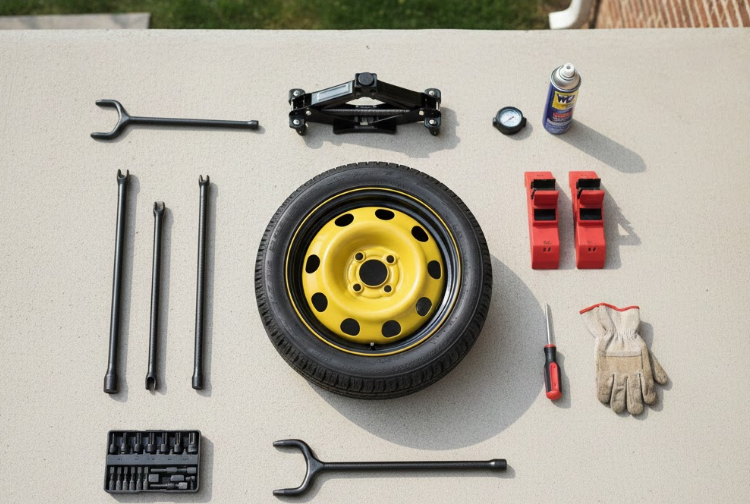
Essential Tools You’ll Need
Before attempting to change a wheel, gather all the necessary tools. Having them ready makes the process faster and safer.
1. Spare Wheel:
Always check the condition of your spare tire. Make sure it’s properly inflated and free from damage.
2. Car Jack:
There are two main types: scissor jacks and hydraulic jacks. Scissor jacks are lightweight and usually come with the car, while hydraulic jacks are faster and more stable.
3. Lug Wrench (Tire Iron):
Used to loosen and tighten the lug nuts. A cross wrench gives better leverage and makes the job easier.
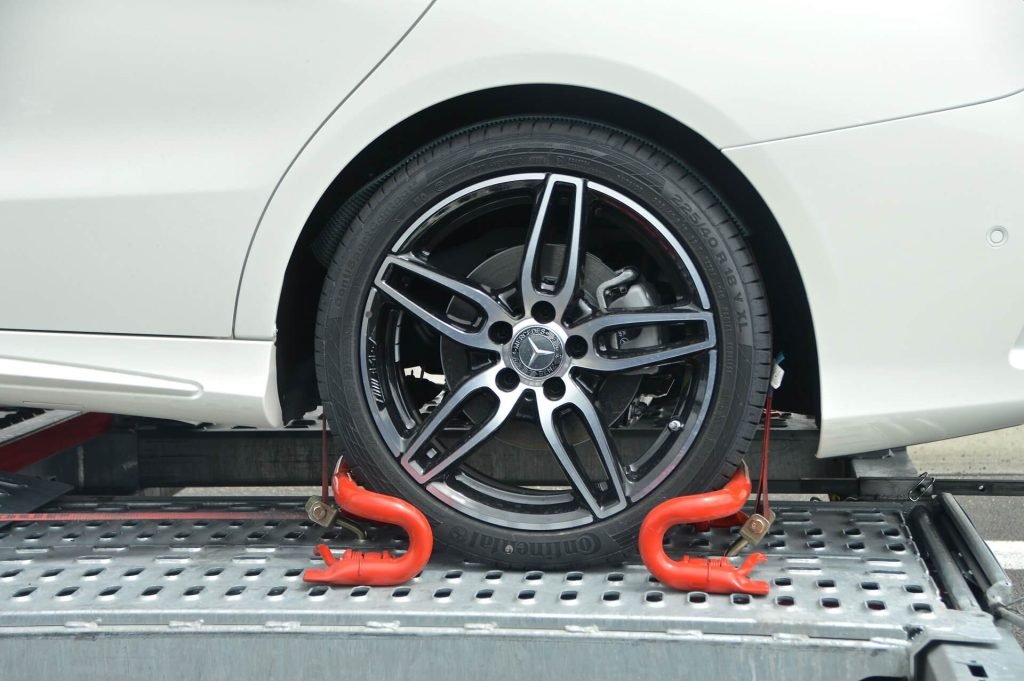
4. Wheel Wedges or Blocks:
Placed behind or in front of tires to prevent the car from rolling while jacking it up.
5. Gloves and Safety Glasses:
Protect your hands from grime and your eyes from dust or debris.
Optional: Torque wrench for accurate tightening.
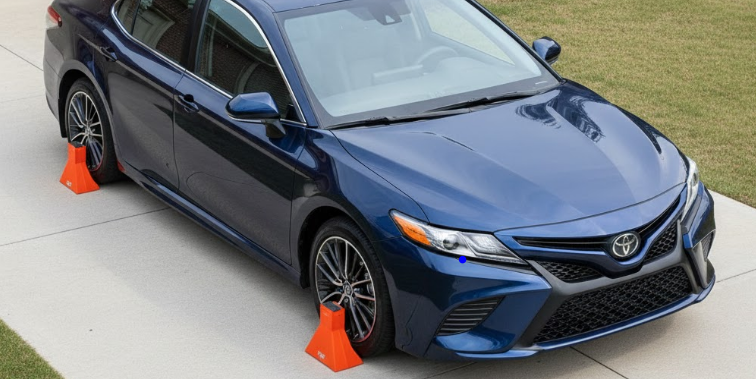
Step 1: Ensure Safety First
Safety is non-negotiable. Before touching the car:
- Move the vehicle to a flat, stable surface. Avoid soft ground or slopes.
- Engage the parking brake.
- Place wheel wedges or blocks behind or in front of the opposite wheel to prevent rolling.
- Turn on your hazard lights if changing a tire on the roadside.
Neglecting these steps is the number one cause of accidents while changing a wheel.
(Image Placeholder: Car parked on flat ground with wheel blocks in place)
Step 2: Loosen the Lug Nuts
Even if your car is on the ground, you can slightly loosen the lug nuts.
- Fit the lug wrench snugly onto a lug nut.
- Turn it counterclockwise to loosen, but do not remove it completely yet.
- If nuts are too tight, use your body weight carefully or a breaker bar for extra leverage.
Pro Tip: Loosening before lifting the car prevents the wheel from spinning while you apply force.
Step 3: Position the Jack Correctly
Placing the jack at the correct location is critical. Refer to your car’s manual for exact jack points, usually near each wheel.
- Place the jack under the vehicle’s reinforced lifting point.
- Ensure the jack base is stable and flat.
- Slowly pump or crank the jack until the wheel is off the ground by a few inches.
Warning: Never place any body parts under the car while it’s supported only by a jack.
Step 4: Remove the Flat Tire
Once the wheel is lifted:
- Fully unscrew the loosened lug nuts and place them somewhere safe.
- Grip the tire with both hands and gently pull it straight off the hub.
- Set it aside carefully; avoid rolling it into traffic or rough surfaces.
Step 5: Mount the Spare Tire
Now, it’s time to put the spare wheel on:
- Align the spare tire’s holes with the wheel studs on the hub.
- Push the wheel onto the hub until it sits flush.
- Hand-tighten the lug nuts as much as possible in a crisscross pattern to ensure even pressure.
Pro Tip: Tightening in a star or crisscross pattern avoids wobbling and prevents the wheel from being misaligned.
Step 6: Lower the Car and Fully Tighten Lug Nuts
- Slowly lower the car using the jack until the wheel touches the ground but is not fully bearing weight.
- Use the lug wrench to tighten the nuts in the same crisscross pattern. Apply firm, even pressure.
- Once fully down, double-check each nut for security.
Optional: If you have a torque wrench, tighten to your car manufacturer’s recommended torque settings.
Step 7: Stow the Tools and Check Tire Pressure
After changing the wheel:
- Put the flat tire, jack, and tools back in your trunk.
- Check the spare tire’s pressure with a gauge and adjust if necessary.
- Drive cautiously for the first few miles, especially if using a temporary “donut” spare.
Pro Tip: Avoid high speeds and long distances on a temporary spare; replace it with a full-size tire as soon as possible.
Common Mistakes to Avoid
Even with careful preparation, people make mistakes when changing wheels. Avoid these:
- Skipping safety steps: Always use wheel wedges and a flat surface.
- Incorrect jack placement: Could damage the car or cause it to slip.
- Over-tightening lug nuts: Can strip threads or warp the brake rotor.
- Under-tightening lug nuts: Wheel could come loose while driving.
- Neglecting tire pressure: Can lead to poor handling or further tire damage.
Quick Tips for Faster Wheel Changes
- Keep all tools in one accessible place in your car.
- Practice changing a wheel at home on a calm day to build confidence.
- Label your jack points for faster setup during emergencies.
- Always check your spare tire’s condition monthly.
Final Thoughts
Changing a car wheel by yourself is a skill that combines safety, technique, and confidence. With the proper tools and practice, you can save time, money, and avoid panic in emergencies. Remember: every car and wheel setup may vary, so always consult your owner’s manual for specifications.
Once you’ve mastered this, minor car troubles won’t hold you back, and roadside emergencies won’t feel so stressful.
Takeaway: Knowledge, preparation, and practice are more powerful than any roadside assistance.